Land Rover Discovery 1 - Development Update
The recent announcement that we are adding the Land Rover Discovery 1 to our line up at both 1:43 and 1:76 scales, created a lot of excitement.
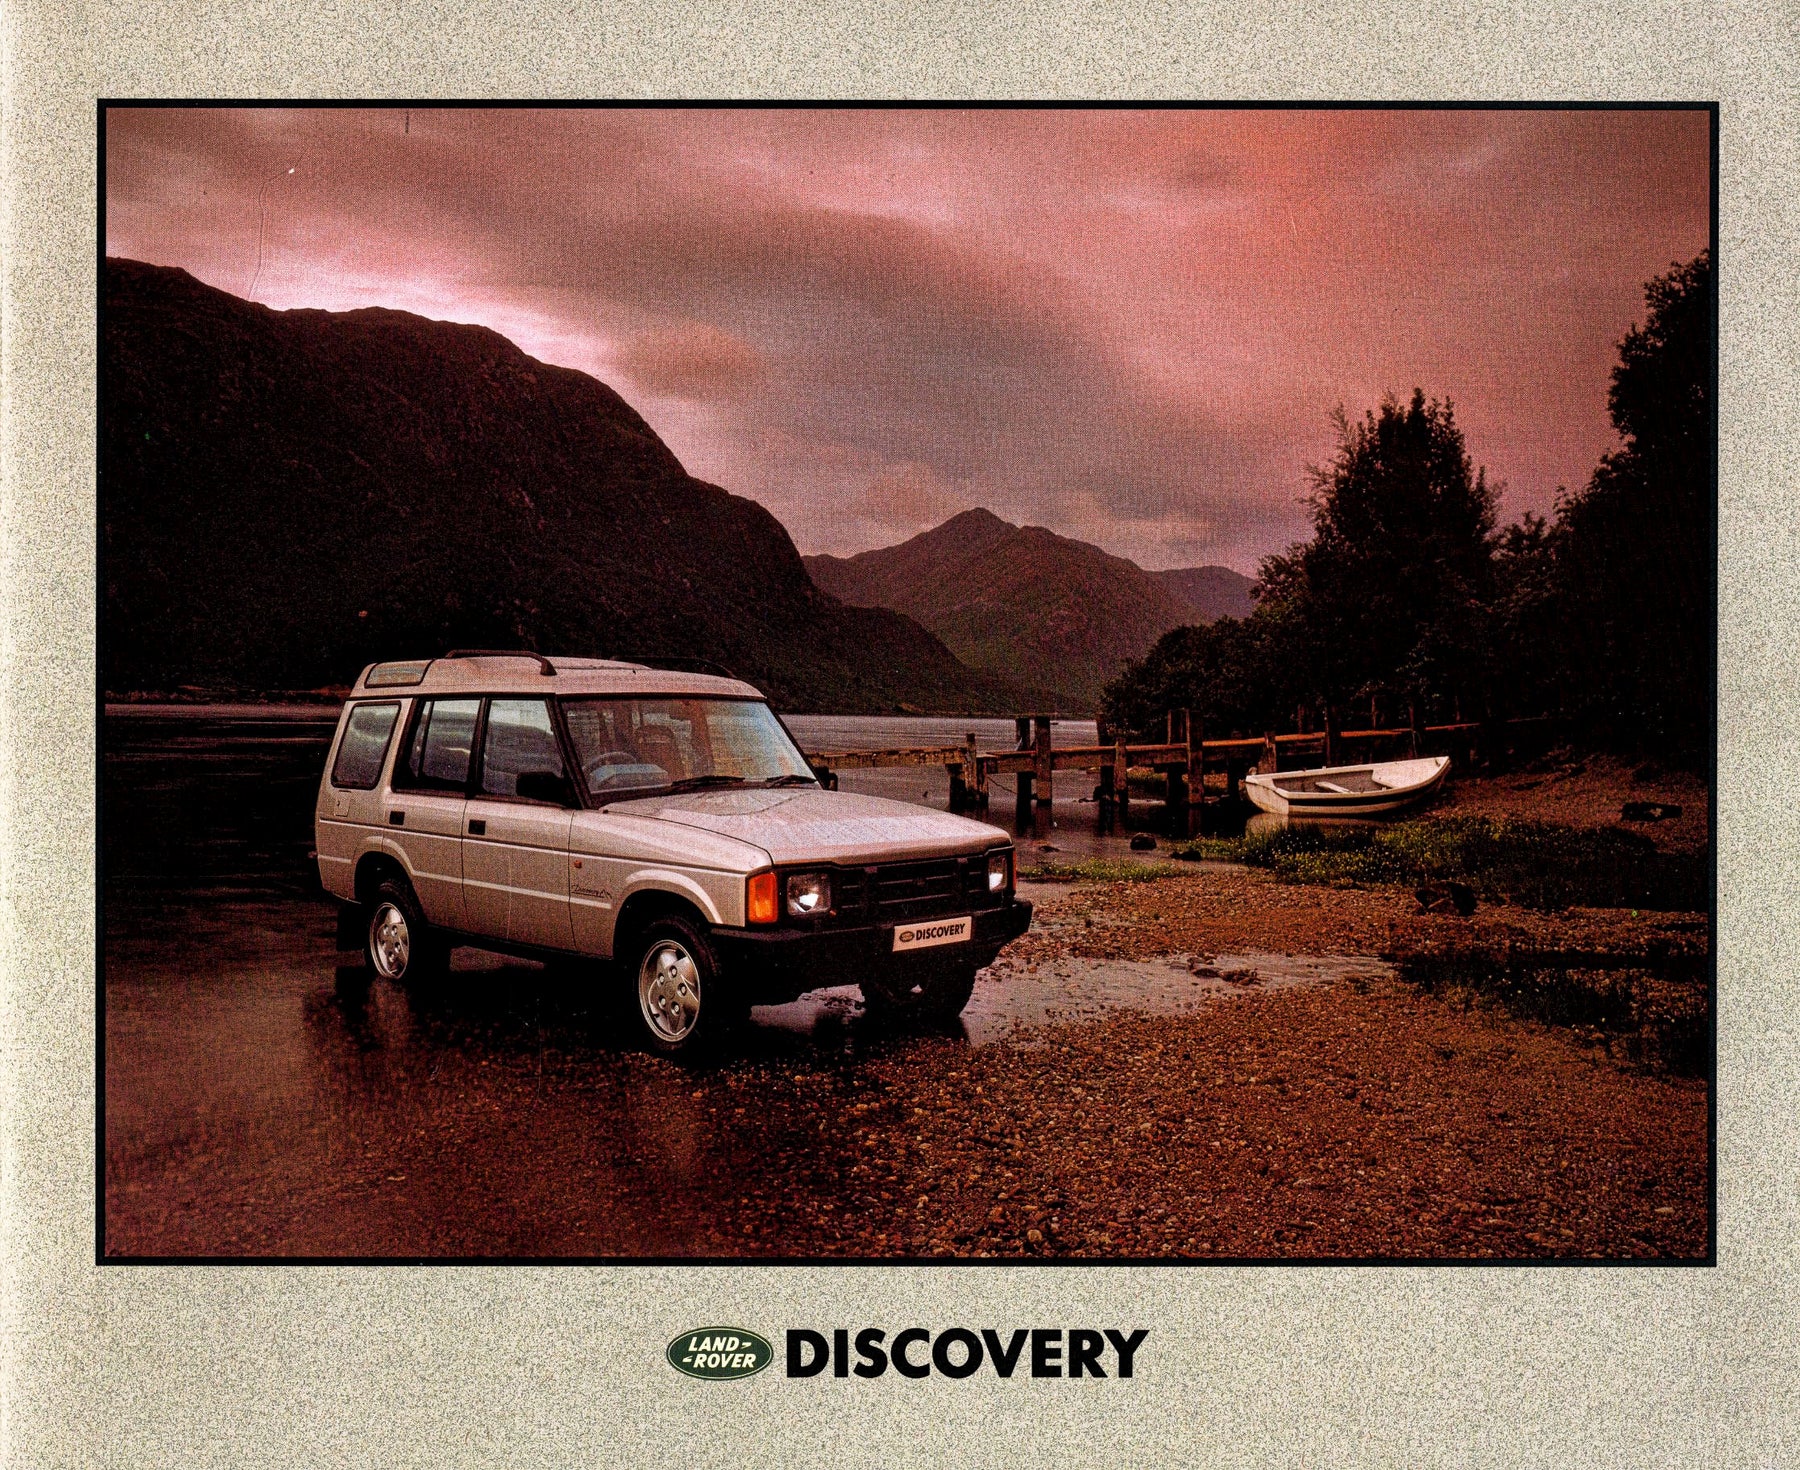
My brochure for the Discovery is from 1991 and the opening page reads as follows:


When this latest vehicle launches Oxford Diecast will have covered the Discovery 1/2/3/4/5 at 1:76 scale.
Designing diecast vehicles takes time.
- Research and selection of vehicle to scan
- Scanning the vehicle
- Product Design
- Designing the moulds
- Making the moulds and trialling the moulds
- Creating artwork specs
- Getting products approvals
Research and selection of vehicle to scan
Finding a suitable vehicle may sound easy, particularly a Land Rover, but you have to be careful as on older vehicles modifications could have taken place. Many years ago, I foolishly asked the question “Can I be shown a standard Series 1 Land Rover”, as many of you know there are never two that look the same!
We also need to consider any variants that may be required, police cars need light bars or recovery vehicles like the AA or the RAC need banners. It makes the design process lengthier but the biggest crime is trying to add them at a later stage.

Brochure Image 1 - part of the research.

Brochure Image 2 - part of the research.

Great brochure imagery - showing suspension

The Discovery we chose to scan.
Scanning the Vehicle
Today this is the best option as it allows the shape to be correctly drawn. Laser scanning the vehicle creates a ‘point cloud’ which can then be triangulated to create a surface.

Point cloud scan of vehicle, the higher areas are meshed together later.

Product Design
How will the model be constructed and how will the components fit together? For the Series 1 Land Rover we will use the scan data to create both 1:76 and 1:43rd vehicles. These will not be the same design or construction.

CAD for 1:43 model

1:43 - lots of subtle differences between scales.

More 1:43 CAD

1:43 interior
Now for the 1:76 scale product CAD

1:76 CAD - note wheel hubs compared to above.

1:76 body thickness differ.

At 1:76 scale the interior can barely be seen, but worth making as accurate as we can.

We also check the case fits.
Designing the moulds
High volume product lines may need multiple cavities of the same part. A typical injection moulding machine for our products will cycle at around 150-180 shots (sprues) per hour. Adding components make the mould costs more expensive, but the parts produced per hour increases. Bigger moulds, need bigger machines which cost more money to run.
Making the moulds and trialling the moulds
A lot quicker process today with the changes in technology. Typically today you would get 1st off shots within 8/10 weeks from the time you start cutting steel. The development and completion of the moulds taking a further 6/8 weeks. During this time you may require licence approvals from the vehicle manufacturer. Some of the larger car brands, may want to be kept in the loop throughout the whole design process and they can often be slow (very slow) to respond.
Creating artwork specs
Today we use the scan images or the original vehicle CAD as the basis of our line drawings. These are critical, they act as the ‘bible’ when we create the 1st off samples and move through the production process.


Using the scan data allows us to create accurate line drawings for artwork.

Oxford Diecast Design Cell for the Land Rover Discovery 1.
So that's a quick update of the Land Rover Discovery 1 - when we get the 1st shots, I will share images with you.
Take Care


Comments
Leave a comment